I've never been a huge fan of gold, but lately I can't seem to get enough of it! This manicure is quick and easy and got a lot of compliments today, which is always a plus, right? I think I may have to bust it out again once it comes time for Christmas parties!
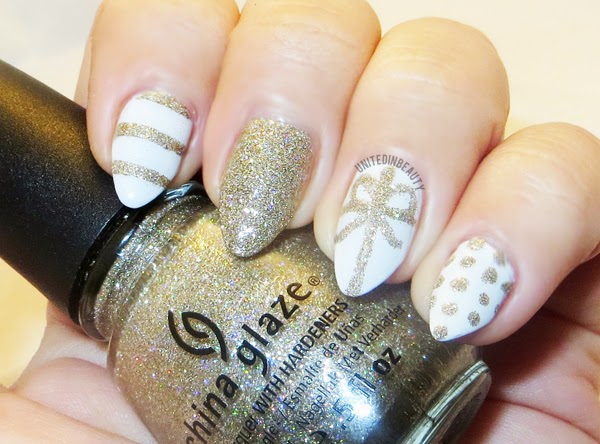
I started with 3 coats of OPI - My Boyfriend Scales Walls, which I have found to be the perfect off white shade. I've searched high and low for a white that is not too stark, but not too yellow and so far this seems to be it. After that was completely dry, I used striping tape to create the lines on my index finger, and a medium sized dotting tool to make the polka dots on my pinky.
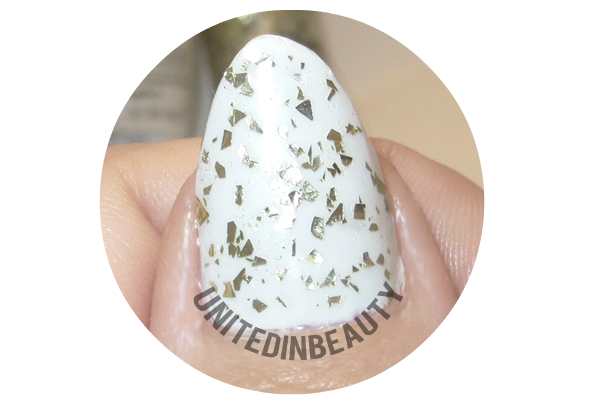
I decided to go full on bling for the middle finger, and used a small nail art brush to draw in the bow accent on my ring finger. Since it was a bit difficult to see in the other photos, I took a close up of my thumbnail and the gold flakes. On my thumb, I used one good coat of Maybelline Color Show Jewels in Gilded in Gold. Well folks, that's it for day 5! See you tomorrow!
How are you all enjoying the 12 days of Christmas Manicures so far? Are there any looks you like to see me create?
December 16, 2014
December 15, 2014
Winter Snowflakes - 12 Days of Christmas Holiday Manicure Series Day 4
Here we are on day 4 and I just couldn't resist using another one of the gorgeous KBShimmer polishes that came in the mail today as the base for this fun snowflake manicure. I'm not a fan of the cold weather at all, but I don't mind it when it looks this good on my nails!
Just to be sure that the base was complete opaque, I used 3 coats of KBShimmer - Snow way then hand painted the snowflakes using a basic white acrylic paint that I had laying around. This was my first time painting snowflakes, so they could use a bit of work, but bear with me. Since I needed a little extra something, I added the two gemstones to my ring and pointer fingers and gave everything a nice coat of Seche Vite to finish them off. I love this look!
December 14, 2014
12 Days of Christmas Holiday Manicure Series Day 3 - Glitter Gradient and Christmas Tree Accent
I used striping tape to get the crisp lines in the tiny Christmas tree and added silver balls and a tiny silver star on top for the finishing touch. I dabbed a bit of white flocking powder over white nail polish to create the snowy ground, I'm super bummed that the camera didn't pick up the fact that the snow is fluffy and 3D! Overall, I'm pretty pleased with how this turned out. Stay tuned for day 4!
Polishes Used: OPI - My Vampire is Buff
China Glaze - Twinkle Lights
China Glaze - Mistletoe Kisses
Labels:
China Glaze,
Christmas,
ChristmasTtree,
glitter gradient,
Nails,
OPI
December 13, 2014
12 Days of Christmas Holiday Manicure Series Day 2 - Holly Back Girl by KBShimmer

Today is the 2nd day of my 12 days of Christmas manicures! I know nail art isn't for everybody, so for day 2 I wanted to include this milky jelly sandwich in a bottle by the lovely KBShimmer. If you are looking for something festive and fast, this is a great choice. This is 3 coats of Holly Back Girl topped with Seche Vite.
I did my best to get a good macro photo to show off all the goodness that is hiding in this bottle. There is a nice off white milky base with different sizes of red and green hexagon shaped glitters mixed in. There is so much depth to this once it is applied that is hard to capture on camera.
Subscribe to:
Comments (Atom)
© United In Beauty. All rights reserved.


