Trending

Showing posts with label Stripes. Show all posts

January 6, 2015

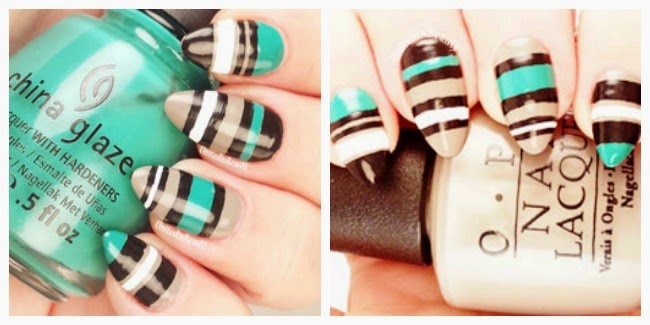
Freehand Green and Tan Striped Nails

Freehand striped nails by @unitedinbeauty
Today I've got a quick post for you with some fun green, black, white and tan striped nail art. These were done completely freehand using a set of very thin nail art brushes that I picked up from my local Hobby Lobby, but in retrospect I really wish I would have used some striping tape. It probably would have cut my time in half and I would have gotten much crisper lines. I guess what they say is true, hindsight is 20/20!

- Polishes  Used -
  •  OPI - French Quarter For Your Thoughts
  •  China Glaze - Four Leaf Clover & White on White
  • Orly - Liquid Vinyl  
  • Seche Vite Fast Dry Topcoat  
       
- Tools - 
  •   Royal & Langnickel - RMAJ Detail Brush Set 
Freehand striped nails by @unitedinbeauty
SHARE:

February 1, 2013

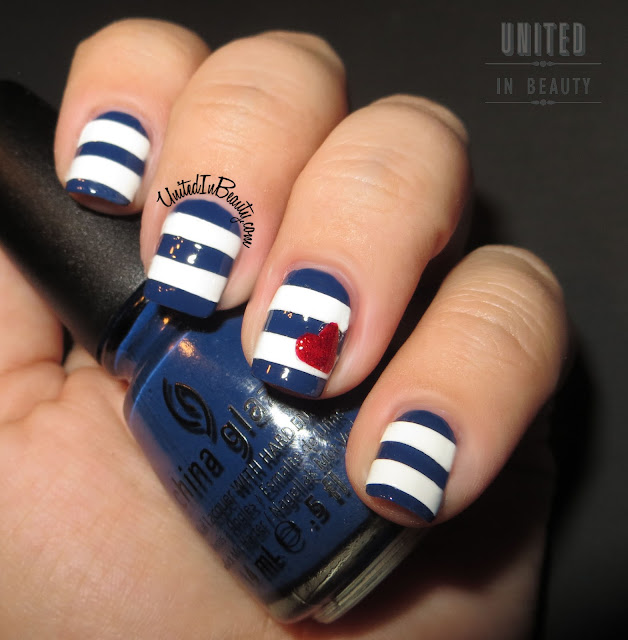
31 Day Challenge - Day 12: Stripes

 -Anchor's Away -

The theme of the day is stripes, and while painting, I totally fell in love with this navy and white striped manicure with glittery heart accent nail. I seem to recall seeing a few different variations on this design before, but I am not exactly sure where it originated.

Striped Nautical Nails
Polishes Used: China Glaze - First Mate, White on White, and Ruby Pumps

In my attempts to simplify the process, it turns out I more than likely ended up making it way more difficult than it had to be. Thanks to my shaky hands, I had to figure out a way to get straight lines, which can be difficult for even the steadiest of digits to freehand. After a little brainstorming, I decided to paint a piece of Scotch tape with white nail polish and cut it into strips of the desired width, then place the stripes directly on the nails.

When it came time to add the heart, I of course had to think of a way to make that more time consuming as well, because everyone knows if it's one thing I have plenty of, it's time.
After laboriously adding the stripes, I couldn't bear the thought of a shaky hand sending it all to hell in a handbasket, so I used a dotting tool to paint the heart on Scotch tape as well, then cut around the design with a pair of nail scissors and put my home made decal in place.

There you have it, after a bunch of unnecessary steps, I'm all finished with day 12!


SHARE:
© United In Beauty. All rights reserved.
Blogger Template by pipdig